LampLife. Making An Old Lamp Into a Steampunk Masterpiece.
A while back I found a pretty beat up lampshade by the side of the road, and I knew I needed to do something with it. Here's what I came up with.
Here is a quick and easy tutorial to make a funky lamp shade that will look something like this.
UPDATE: I’ve made a fun video tutorial about this technique as well! Check it out here.

One caveat: remember that paper is flammable, so make sure your lightbulb is far enough away from the shade and is not going to make the shade too hot and burn down your house or something nasty like that!
You will need:

an old lamp shade
white glue (sometimes called PVA glue)
measuring cup
plastic tub
brown kraft paper
oil based wood stain
Mod Podge
paintbrush
rubber gloves
rag
5 minute 2 part epoxy
Step 1: Clean up your lampshade so there are no frilly bits that are going to get in the way

Mix 2 parts water to one part glue
Step 2: Mix 2 parts water to 1 part white glue, and put it in a plastic tub. I started off with 100ml of glue and 200 ml of water, but I had to make a second batch to be able to finish the job.
Step 3: Tear your brown paper into roundish shapes, about the size of your hand or smaller. Make a big pile of the torn paper.

Soaking crumpled paper in the glue mixture
Step 4: Crumple up the paper and then soak it in the glue for about a minute. This is the part you will need to experiment with in order to get the look you want. I ended up scrunching the paper, then unscrunching it a bit, then put it in the glue with 5 or six other pieces. As I took the paper out of the glue I would give it a squeeze to get rid of some of the extra glue.
Step 5: Place the paper on the lampshade. Fairly straightforward, except where the paper goes around a corner. I found it best to have the narrowest bit of the paper circle going over the edge, and sometimes if it was still to wide to get it flat, I would rip the paper just up to the point where it went over the edge. It definitely helps to save your smaller bits for going over the edge.

Applying paper to the lampshade
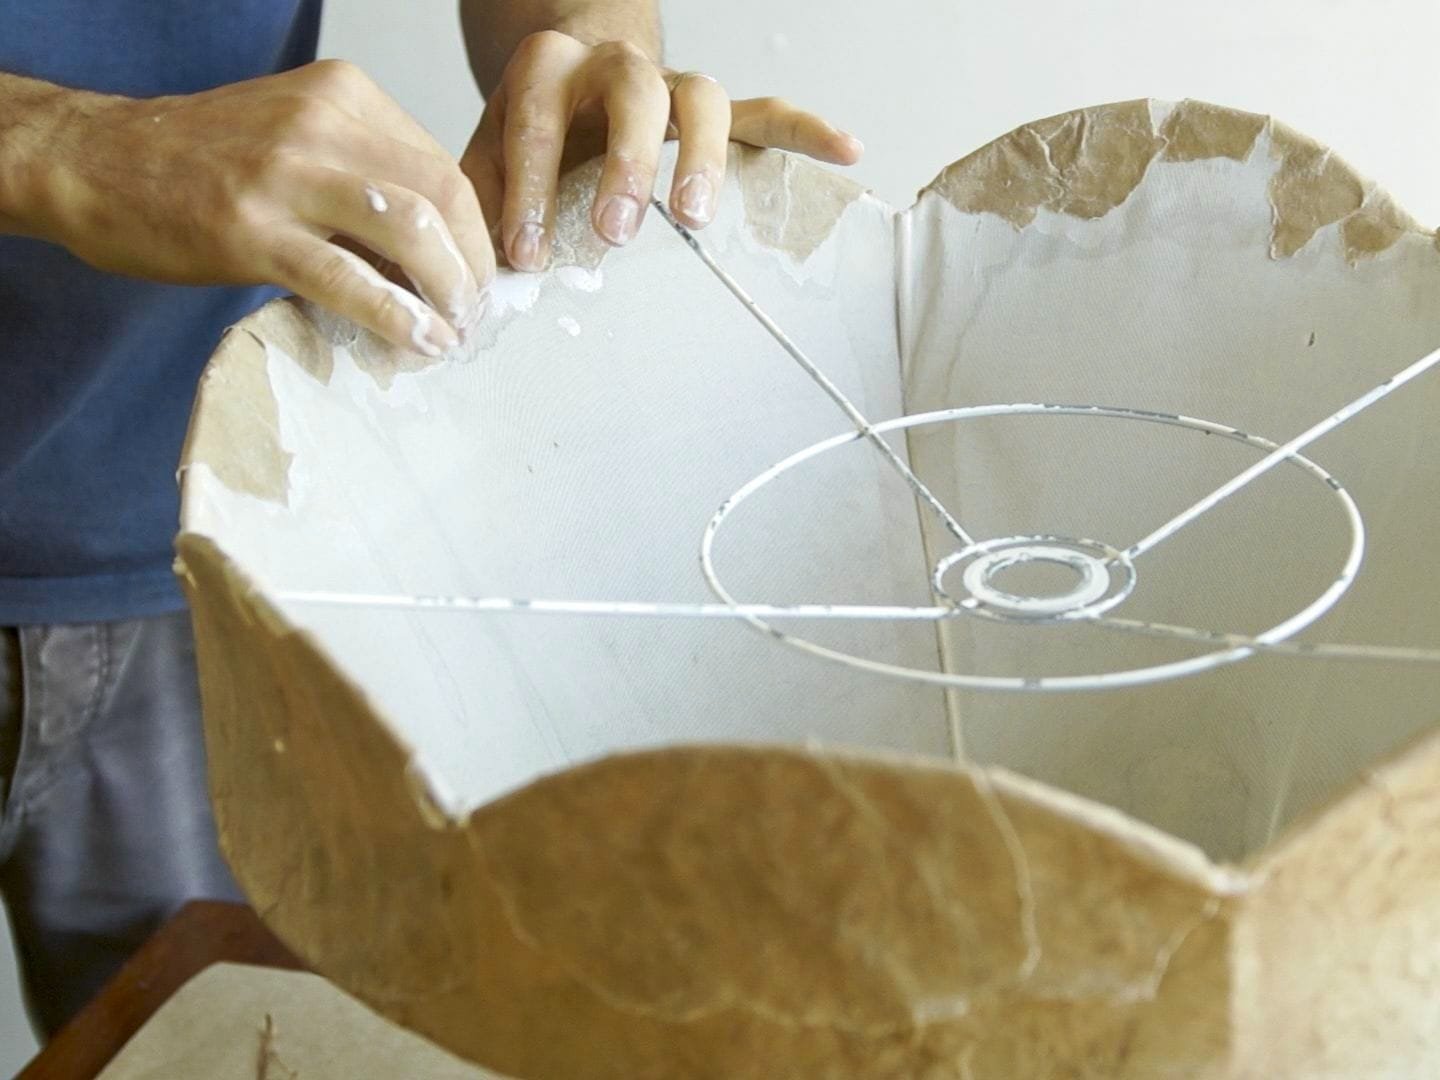
Going around the edges....sometimes a bit tricky.
Step 6: Let it dry.
Oil based stain. I used a walnut colour.
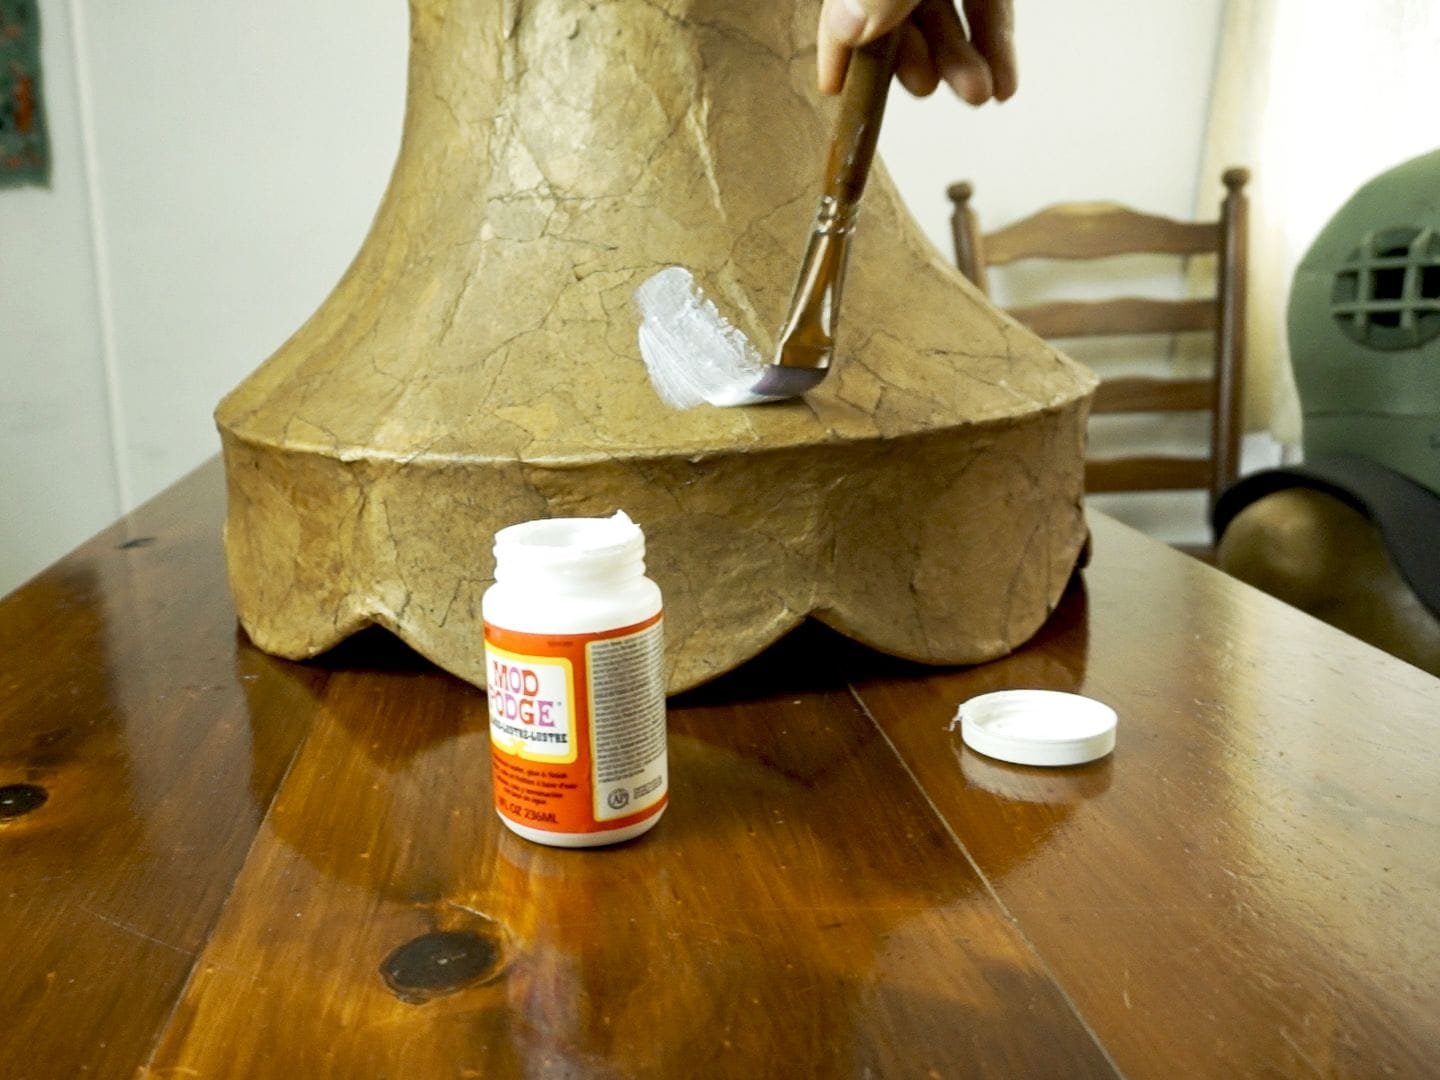
A bit of gloss Mod Podge
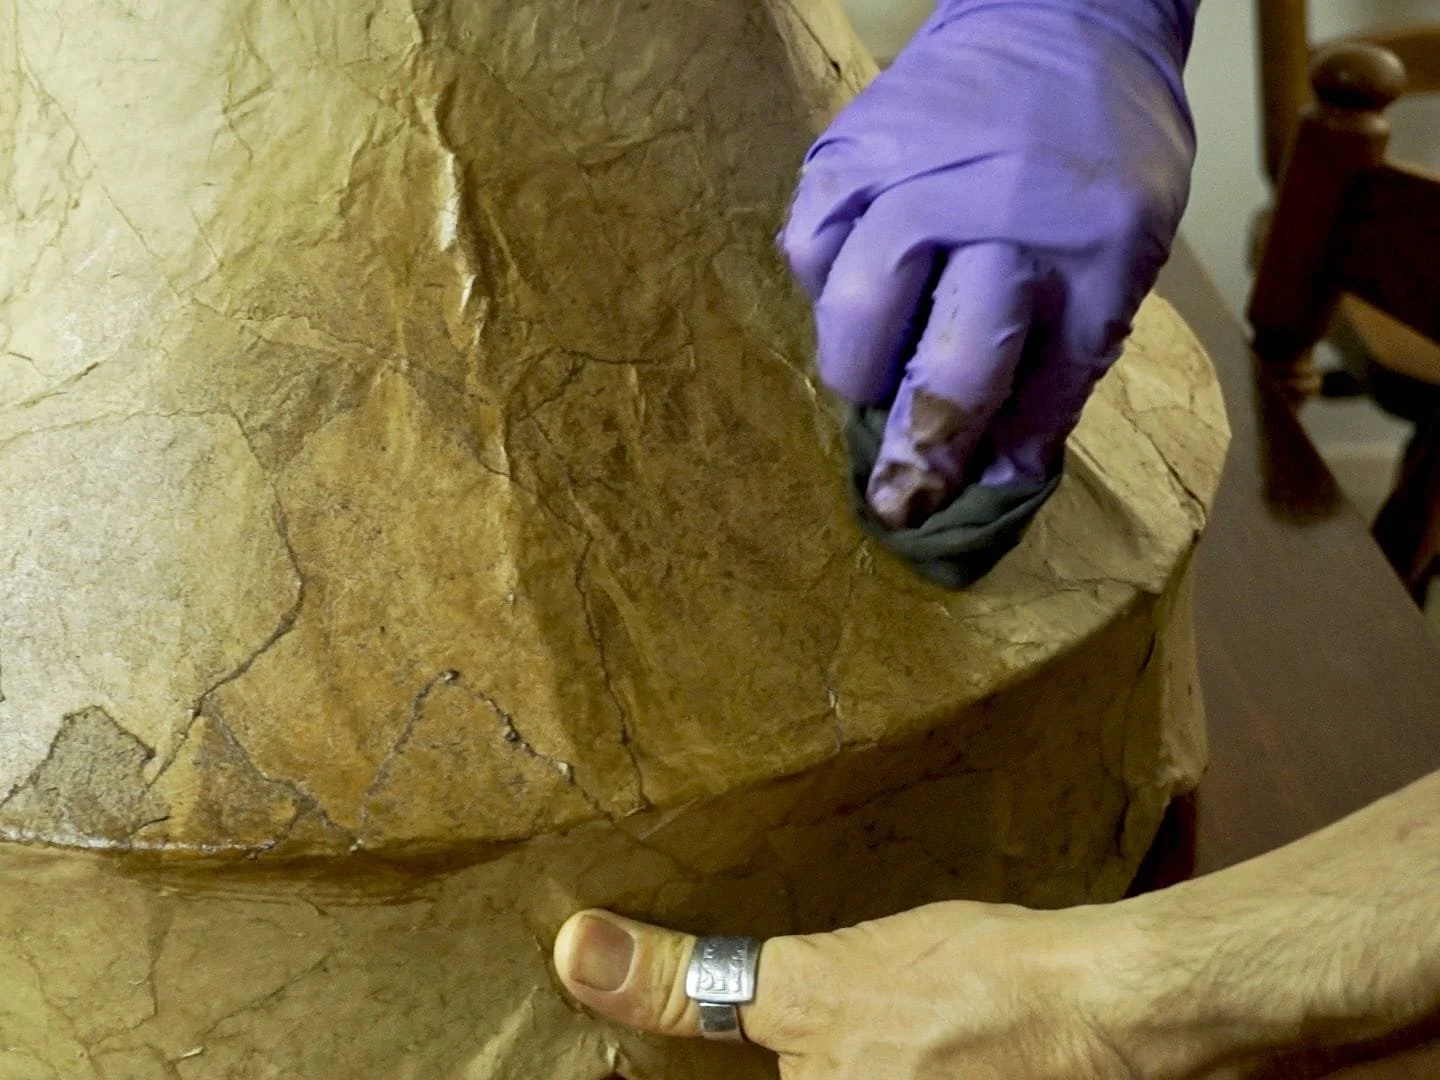
Step 7: Stain (optional) If you would like a bit darker colour with a bit more texture, use an interior oil based stain, rub it on in a thin coat, and let it completely dry. Don't forget to wear gloves and have a good supply of fresh air:)
Step 8: Give it a coat of Mod Podge to seal it and give it a nice sheen. I used one coat of gloss Mod Podge, but I would also like to try it with a semi gloss.

Use a match to put little dots on the cardboard as rivets
Step 9: Cut some strips of cardboard that are long enough to run vertically down the length of the shade, with a bit extra to fold under the top and bottom edges.
Step 10: Mix 2 part epoxy together and make little dots along the strip of cardboard using a match head. If you used 5 minute epoxy, it should be hard in about 30 minutes.
Step 11: Paint the strips black. I needed a couple of coats to get nice coverage.

Apply Rub N' Buff

Glue strips to the lampshade
Step 12: Use Rub N Buff to give it a nice antique brass look. I used antique gold Rub N' Buff, Putting a small amount on a scrap bit of cardboard and then using a gloved finger to apply just a very small amount at a time to the strips. If you have never used Rub N' Buff before, I highly recommend experimenting a bit before you go for it on your strips.
Step 13: Use hot glue to attach the strips to the lampshade. Looking good!

Finished steampunk lampshade

Streaks left where some glue ran down the side
One thing I realised when I went to stain it was that I should have been more vigilant about drips of glue running down the sides of the lamp shade. The stain didn't take as well where those drips had been. You can see it in the pictures.
I hope you have fun with this little project, I came across this technique as a cheap way to make some cool looking flooring. I actually did a small floor with this technique, and it really looked great!